
Painting is fun! And there are lots of ways to do it!
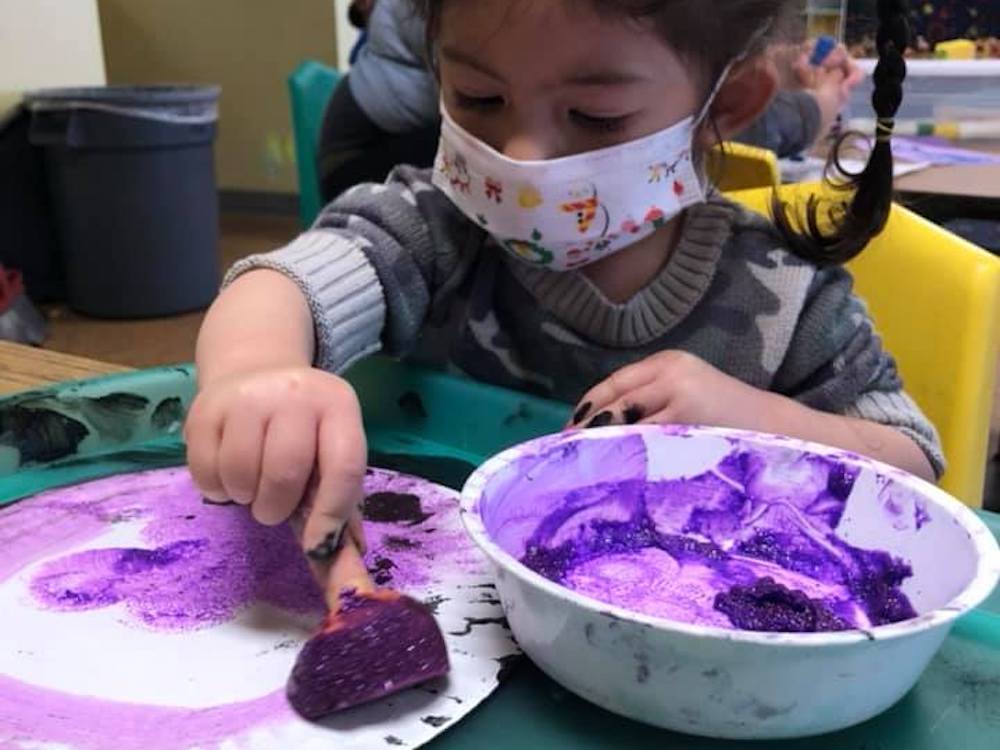
When children paint using different mediums they learn about textures, consistencies, colors, shapes, cause and effect and a lot more. Perhaps most importantly they learn how to express themselves in different ways. Now it’s your turn to have a blast at home with a few of our favorite painting projects. Roll up your sleeves and get your hands dirty!
Sidewalk/Black Top Painting
You need:
- 2T cornstarch
- 4T water
- 6-8 drops food coloring
- Bucket or bowl
- Paint brushes or small brooms & scrub brushes
Mix together in a bowl/bucket & paint something on the ground.
Puff Paint Painting
You need:
- 1 cup shaving cream
- ½ cup white glue
- Bowls
- Food coloring
- Paper to paint
In a bowl mix shaving cream and the glue. Separate mixture into four separate bowls and add a different color of food coloring to each bowl. Mix with your hands! Now paint with your fingers and hands! The more you get on yourself the better!!!!
Kitchen Gadget Panting
You need:
- Any kind/color of washable paint
- paper
- 3 to 5 kitchen gadgets
- whisk
- potato masher
- electric mixer ( Place paper in bottom of box then turn on mixer while holding it in the box)
- fork…
Dip each gadget into the paint and paint with it. Each gadget works a bit differently making interesting designs.
Ice Cube Painting
You need:
- Water
- Food coloring
- Ice cube tray
- Popsicle sticks
Prepare your “brushes”
- Fill the ice tray with water
- Put a drop of food coloring in each cube, vary the colors
- Place a popsicle stick in each cube
- Place tray in the freezer & let water freeze overnight
- When frozen, remove from ice tray & paint away on a piece of paper, the ground or yourself….
Variation – Add some sugar, cool aide, or a couple drops of snow cone syrup to each cube instead of food coloring. The paintings will be a bit sticky but the “brushes” will be so tasty.
Pendulum Painting
You need:
- Wooden poles
- Rubber feet
- Craft knife
- Plastic condiment bottle
- Electrical or duct tape
- Hole punch
- Large paper clip
- Tempera paint
- Water
- Measuring cup
- Large piece of paper
- Tarp or sheet or area that can get paint on it without worry
Put it all together
- Create a tripod by tying together three wooden poles with twine or zip ties. Attach rubber feet to ends of poles for added traction.
- Create the pendulum; Use a craft knife to cut off the bottom 1/2 inch of an empty condiment bottle. Punch 3 holes through the plastic bottle with 1/4-inch hole punch. Thread a long piece of twine through each hole, and secure in place. Bring all strings together and tie in a large loop about 1 to 2 feet from the bottle. Thread loop onto a large paper clip.
- Tie a piece of twine to the top of the tripod so that it hangs down into the center.
- Tie a loop at the bottom end of the twine and attach pendulum with the paper clip hook. Adjust height; the nozzle should be at least 1 inch away from the paper.
- Mix one part tempera paint with one part water. Paint should run freely but should not be too watery. Fill up the pendulum.
- Place paper under tripod. Pull pendulum off to side of paper. With paint flowing, let pendulum swing over paper, changing direction as desired. To stop flow of paint, place finger under paint nozzle or put on a cap or some tape.

- Happy Times November 2024 - October 29, 2024
- Ms. Tiffany - September 27, 2024
- Happy Times October 2024 - September 27, 2024